Your cart is currently empty!
The Making of My Calendars
Time to read:
·
Making a calendar is a longer process than it may seem on the surface…at least for me! So rather than just tell you about my calendar, I thought I’d share with you the process I go through making it each year.
Image Selection
When it comes time to make my calendar, I go through a lengthy process deciding which images to include:
- The first thing is to copy all the images from the past year that are contenders into a new folder. This is only the best images I have taken, and generally ends up around 20 – 40 photos (there were 38 this year).
- I then make a dummy page for every contender image. As the images in the calendar are usually not the same aspect ratio as the original photographs, this is important to see how the image works when cropped. This stage always weeds out a number of images that just don’t work once cropped for the calendar.
- Next, I sort the dummy pages in a rough order according to which images I believe are the best. I remove any that just don’t look as good as the rest.
- This step is the one that always takes me the longest, and that I can end up playing around with over several days:
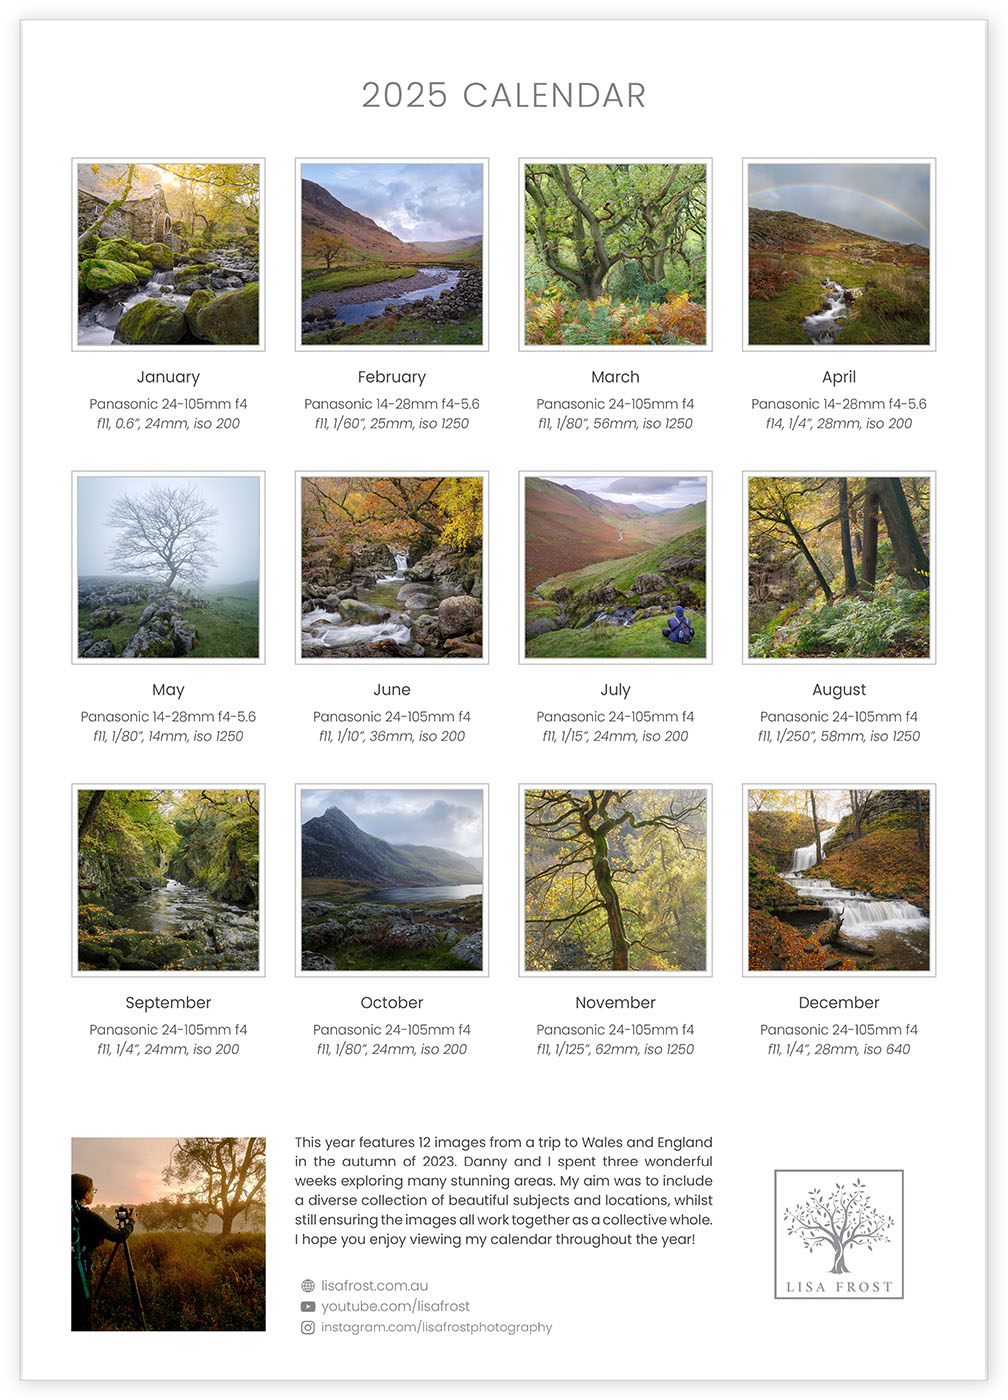
- I add images onto the back page of the calendar, trying out different combinations and orders.
- I often create a number of different back pages.
- The purpose of this step is to make sure there are a variety of images and colours in the calendar, whilst ensuring that the images all work together to form a cohesive, balanced whole. When looking at them together on the back page it becomes obvious which images just don’t fit, and which are too much alike.
- At this point, I print out small samples (5×7″ or 6×8″) of each page. There are often still a few extra images that I need to choose between, so I put the images in order and see how they each work, following on from one another.
- It’s decision time! I will cull the final photos and be left with the calendar images.
Finishing the Design
I create my calendars in Adobe InDesign, which is such a brilliant piece of software for designing any sort of page layouts (it’s actually my favourite piece of Adobe software to use).
While the general template for the calendar is usually copied from previous years (with a couple of tweaks), there are still a number of steps to complete the calendar:
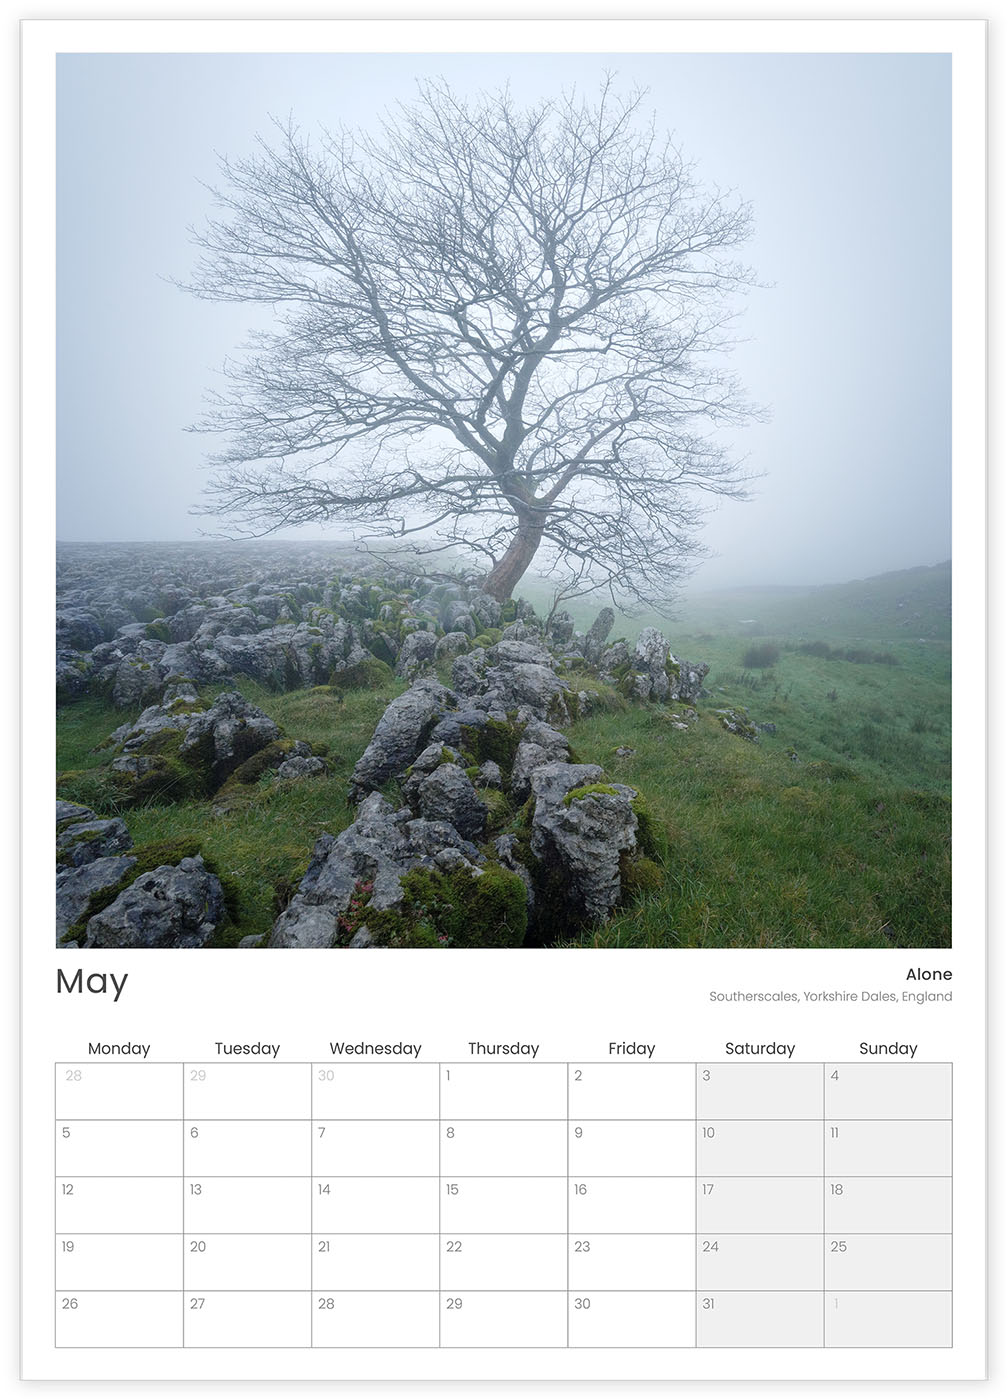
- The actual dates need to be adjusted on all pages. Thankfully InDesign has a feature where each box can just increment from the previous one, but there are still a few things that need to be done:
- Restart numbering on the day of the week the month starts.
- Restart numbering on the day after the month ends, and change the formatting to show these are dates for the following month.
- Manually change the dates for any days of the previous month, and change the formatting to show these are dates for the previous month.
- Choose the cover image (this normally jumps out at me during the process).
- Add all titles and locations for each month.
- Add all the technical details for each image to the back page.
- Write a blurb on the back page.
- Check, double-check and triple-check all the dates and text!
And I always get a proof copy done at the printers to check on the colours before ordering the final calendars.
Calendar Details
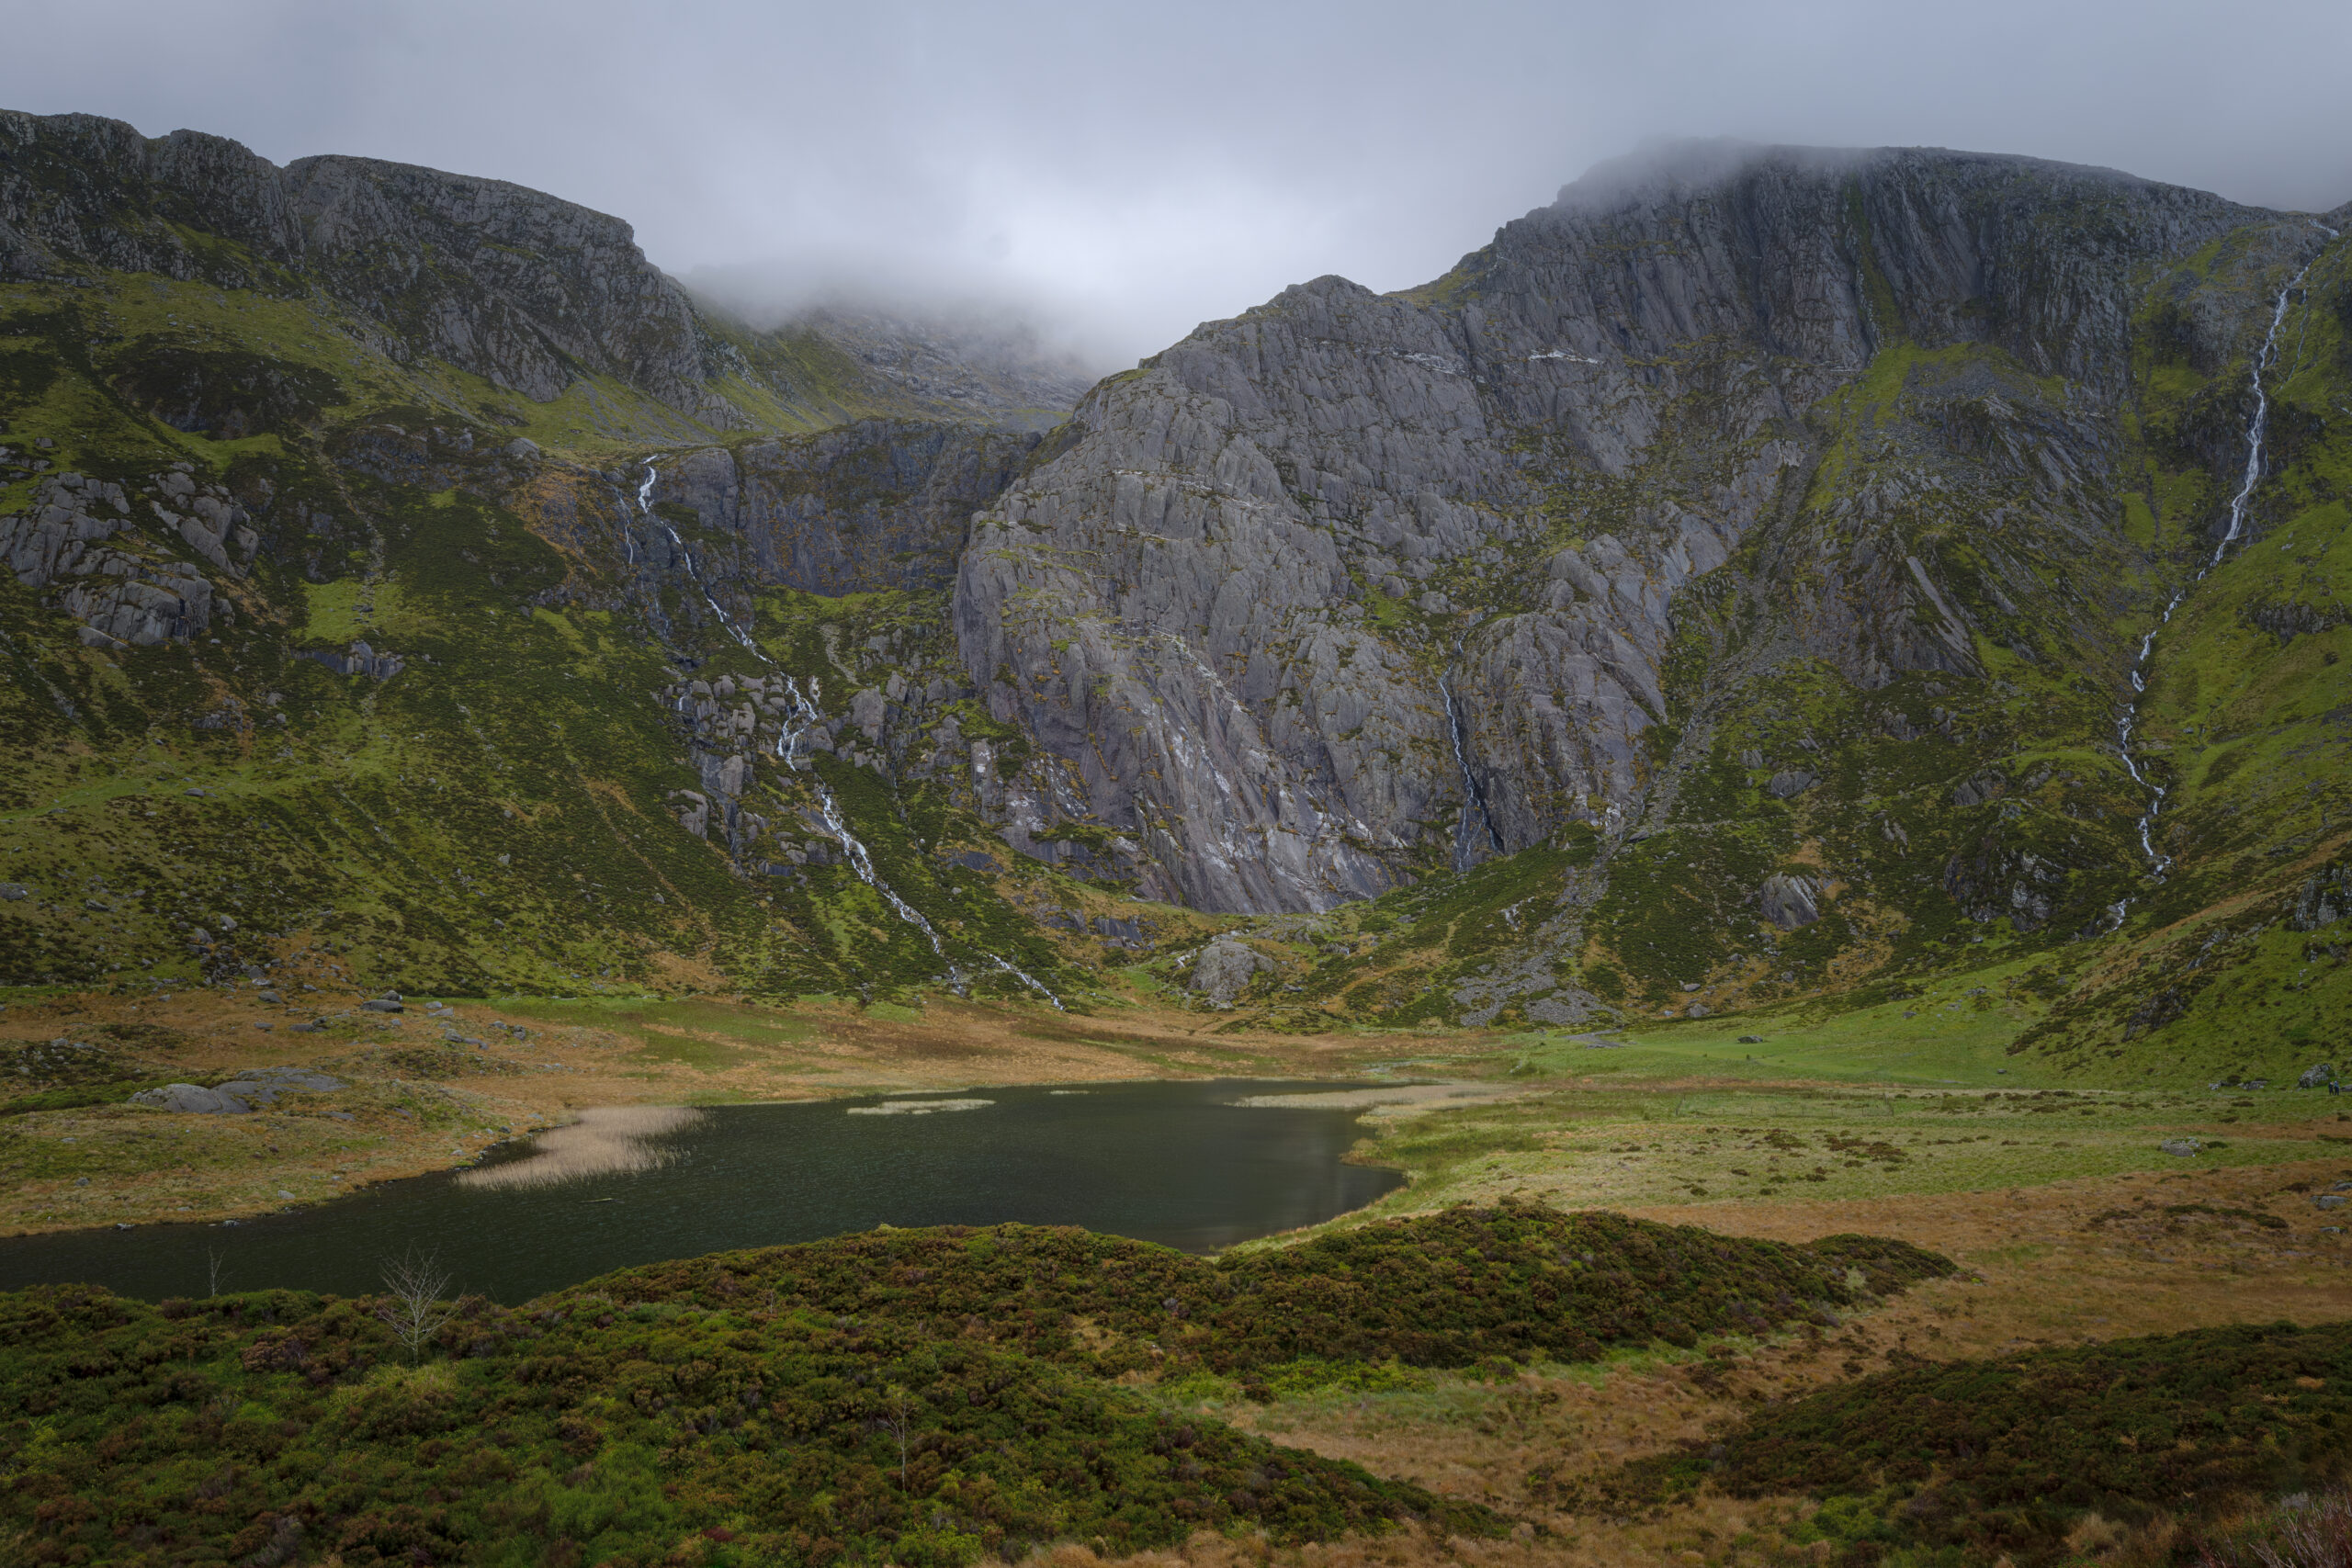
My 2025 calendar features images from our trip to Wales and Northern England last autumn. I decided to go back to an A3 sized calendar, with the images now in a square format, so as to make the images as large as possible. I’m so happy with the selection of images that made it into the calendar!
The interior pages are 170gsm silk art paper, while the covers are a heavier-weight 300gsm silk art. These are both a heavier weight paper than the last time I made an A3 calendar, with the stock as heavy as I could go before the calendar would go into the next weight range for postage, and so cost a lot more.
Ordering
My 2025 calendar is available to order until September 12. As always, I only get printed the number of calendars ordered, so if you’d like a beautiful calendar for your wall next year, make sure you get your order in by September 12!
I put a lot in to make my calendars as beautiful as possible, and I am so grateful to everyone who orders one!
Share:
Did you enjoy this article?
You can receive all my latest content by subscribing below.

Leave a Reply