Your cart is currently empty!
My Gear
Here is all of the gear I use to create both my photographs and videos. I’ve also included a bit of information about each item to help give you a better idea if it’s right for you. Many of the links below are affiliate links, so if you choose to purchase something after clicking one I may make a small commission at no extra cost to you…how cool is that!
Camera & Lenses
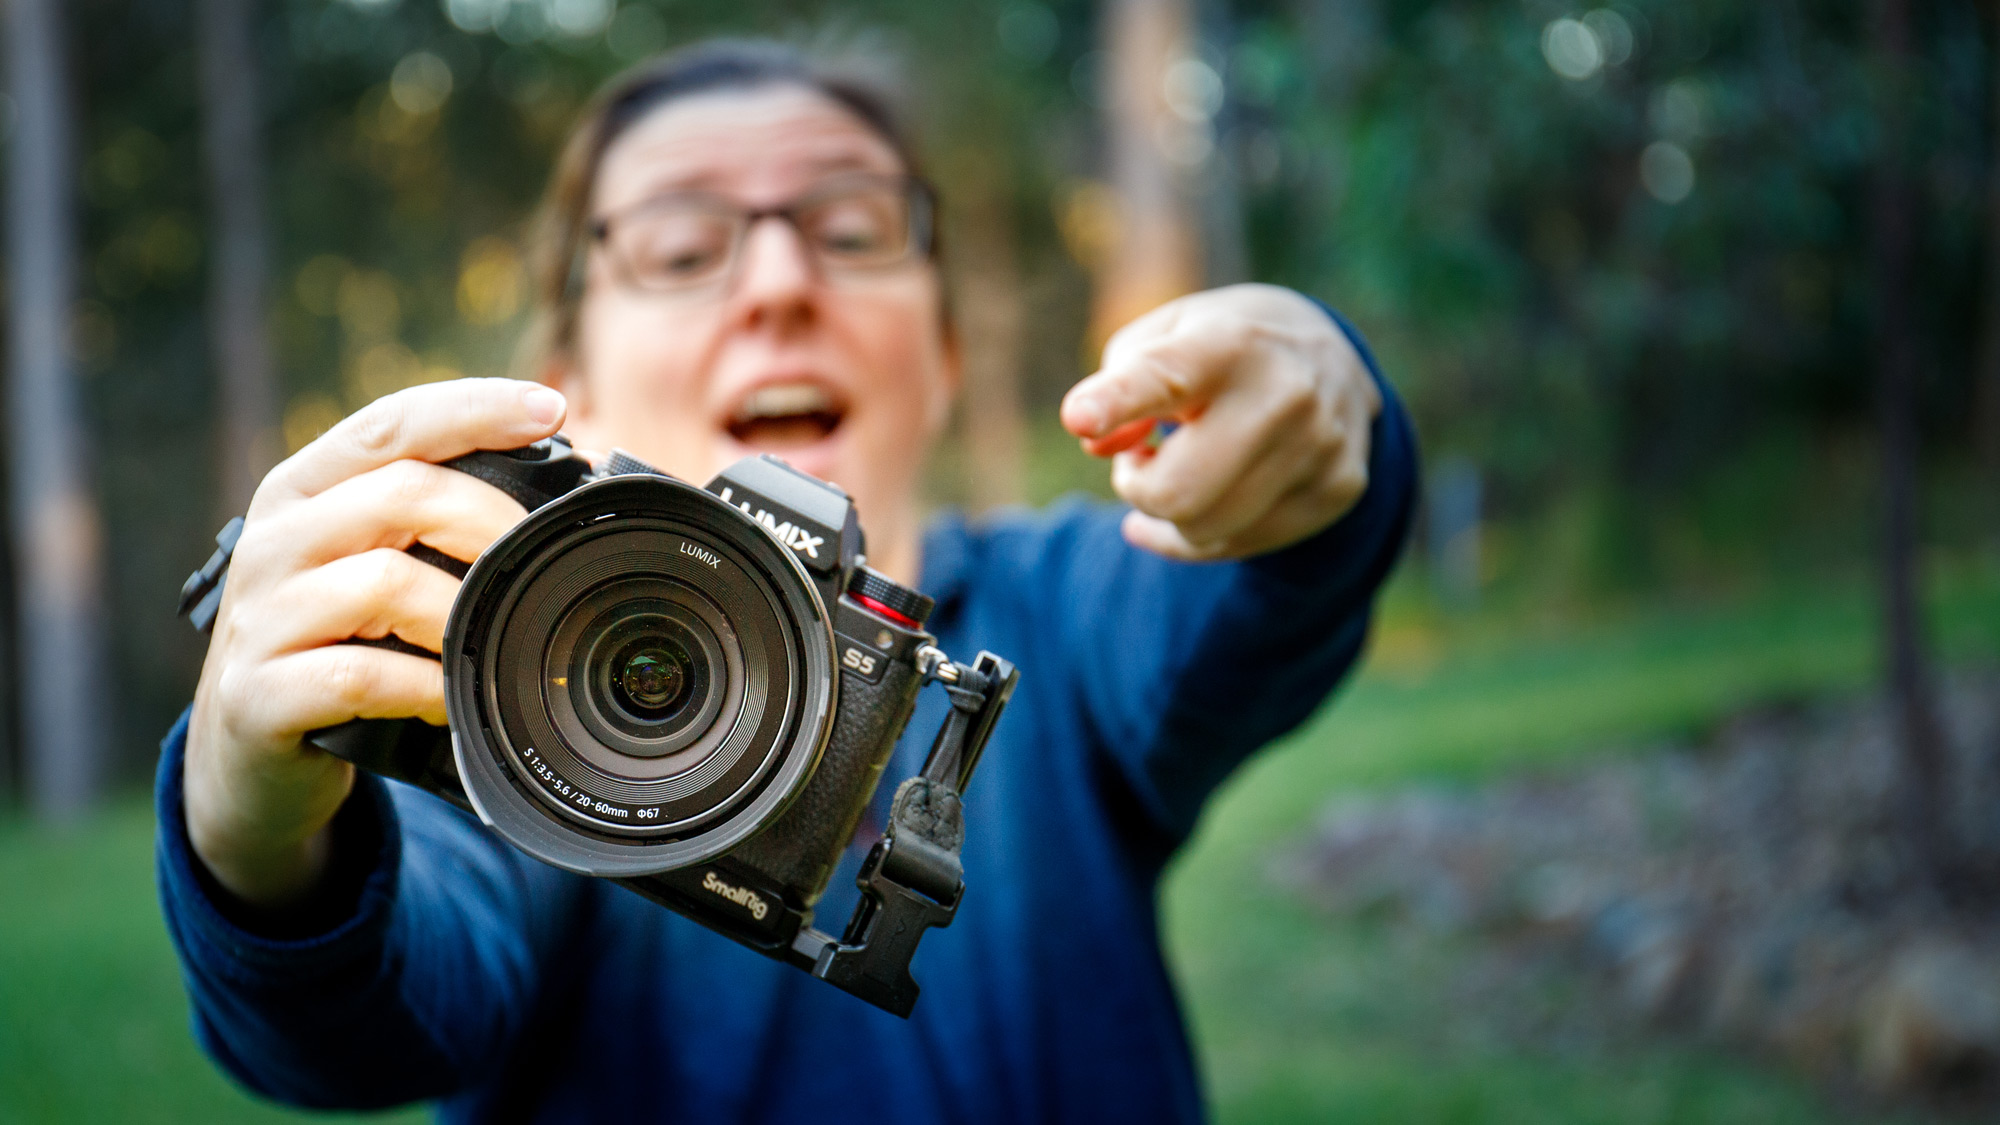
- Panasonic Lumix S5 – not only does the S5 get used for all my photography, I also use it for a lot of video too. I love this camera! It’s a joy to use and has wonderful image quality, dynamic range and low noise in high ISO. I’ve taken the time to customise it for my needs which leaves me hardly ever needing to go into the menus, with the settings I need at the bush of a button. Now that the Panasonic Lumix S5 II is out I’d recommend going for that due to the upgrades to autofocus and open-gate video recording. I really think the S5 II is one of the best cameras out there for both photography and videography, and the build quality is top notch! My S5 often gets wet when I’m out in the rain and it hasn’t missed a beat.
- Panasonic 20-60mm – the little lens you can buy with the S5 and S5 II may not be the fastest lens around but it’s small, light and sharp! This is the lens I use most of the time.
- Panasonic 24-105mm f4 – I bought this lens for its wonderful image quality and great range. Many of the images I shoot fall in this focal range, particularly with woodland photography. I can see myself often only taking this lens with me.
- Panasonic 14-28mm – a small and light ultra-wide angle lens. I tend to use an ultra-wide mostly for waterfalls, creeks and rivers.
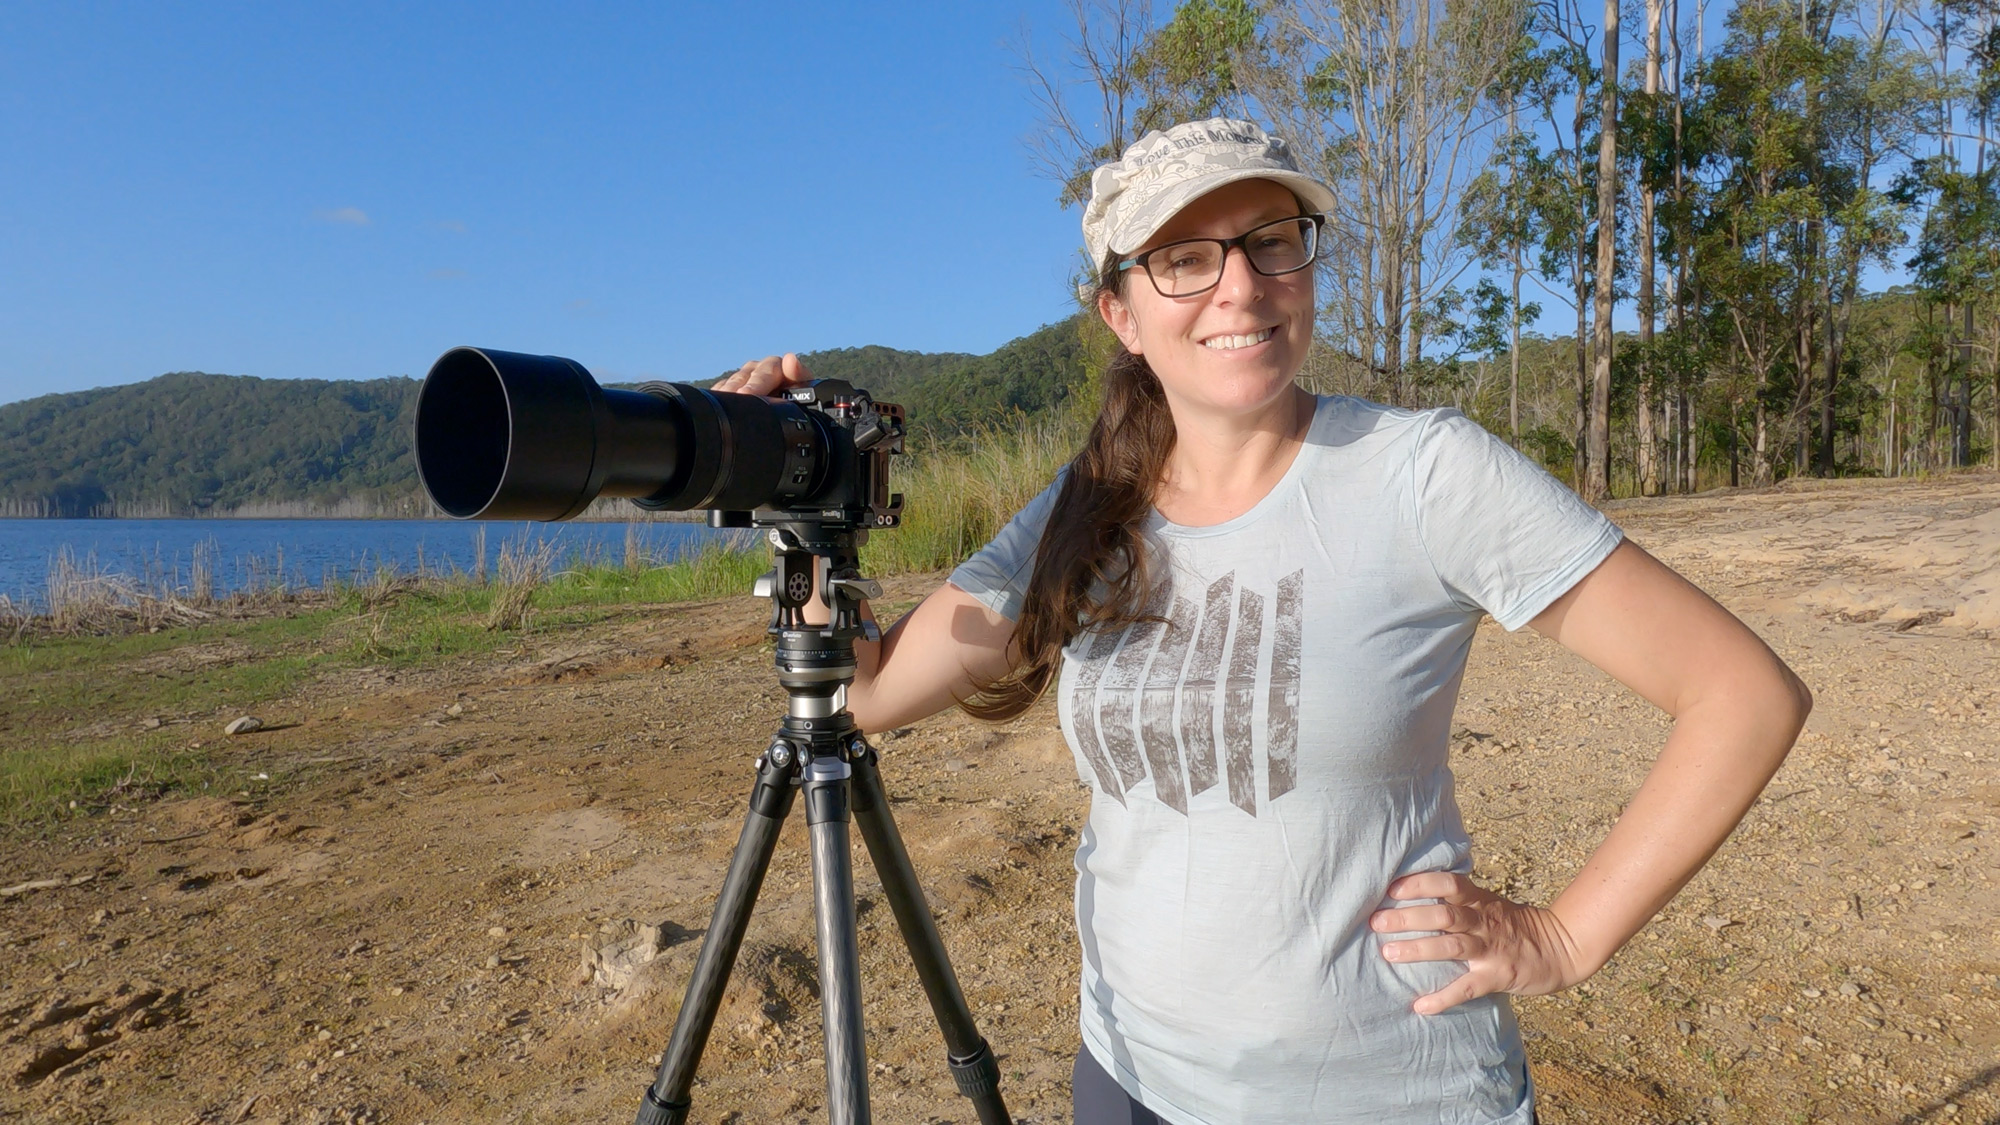
- Panasonic 70-300mm Macro – a really handy lens for getting those more intimate landscape shots, as well as impressive macro ability. The background bokeh is stunning!
- Panasonic 50mm f1.8 – it’s a 50mm f1.8, what more is there to say? 😀 It doesn’t get used as much as it deserves.
- Sigma MC-21 Lens Adapter – this allows me to use my old Canon EF lenses on the S5. Works exceptionally well, and for newer Canon lenses the autofocus speed is similar to found with the native Panasonic lenses. My Canon 50mm f1.4 old focusing motor wasn’t really up to the task though.
- Canon 100mm f2.8 L IS Macro – this lens is amazing! Soooo sharp and just the most beautiful background blur. Autofocus is very quick too, even when shooting macro. Even though I don’t use it much I’m not sure if I’m ever going to be able to sell it.’
- Samyang 14mm f2.8 – I only ever use this lens for astrophotography, which it does an amazing job at! This is the Canon version that I use with the Sigma adapter above.

Video
- Panasonic G100 with 12-32mm – my new video camera, this thing offers a lot of versatility in a tiny package! It’s small enough to be used on my monopod with feet, or even a selfie stick, whilst being able to used with the large variety of M43 lenses. I’ll also be using this as a travel camera, or light-weight option on longer or more difficult hikes.
- Panasonic 35-100mm f4-5.6 – a tiny telephoto lens to go on the G100. The image quality out of this and the 12-32mm is amazing for such small lenses.
- DJI Action 4 – I use this to vlog with, to record shots of myself while taking photos, and for taking other POV style video. A massive improvement over my GoPro Hero 9.
- INKEE Falcon Plus Gimbal – a small and light-weight gimbal for use with my Action 4 in low-light situations to get great stabilisation.
- DJI Mini 3 Pro – I cannot begin to tell you how much I love this drone! I’d never flown a drone before getting this, and while I initially thought it was daunting, this drone makes learning quite straight-forward (together with watching a lot of videos on YouTube!) I’m finding taking video with this just so much fun, and if you’re considering getting one I say go for it!
- DJI ND Filters – a set of three ND filters for use with the Mini 3 Pro. It contains an ND16, ND64 and ND256 (4-stop, 6-stop and 8-stop). I use the ND16 and ND64 quite a bit, but not the ND256.
Camera Support
- Leofoto LS-284C Tripod – a carbon fibre tripod which is light-weight, sturdy and reasonably tall for its weight. Becuase it has no centre column it can also be used very close to the ground. This is my go-to tripod anytime there’s some walking involved, which is most of the time.
- Leofoto LS-284CEX Tripod – this is the same as my tripod except it has a levelling base built into it! If you’re planning to use your tripod with a 2-way head like mine (or Thomas Heatons!) I recommend getting these legs rather than buying the legs and base separately (they weren’t available when I bought my tripod unfortunately).
- Leofoto LB-60N Levelling Base – a fast and easy way to level my tripod head without messing around with the legs. I use it in conjunction with the head below. If you already have a tripod and would like to use a 2-way head, I highly recommend this levelling base as it’s light and well made. If you’re looking for some legs too then I recommend the Leofoto tripods with the levelling base built in (see above).
- Leofoto VH-30R 2-Way Panoramic Head – in conjunction with levelling base above, by far the easiest and best tripod head I’ve ever used. It’s very quick and easy to get it level, and makes doing panoramas of any type – horizontal, vertical or multi-row – so easy. A very similar set-up to what Thomas Heaton uses but lighter and half the price!
- Feisol Elite CT-3472 Tripod – a much taller tripod than the Leofoto, I use this when I think I’ll need the height and don’t need to do much walking. As with the Leofoto, this tripod has no centre column so can be used very close to the ground. While it’s about 0.5kg heavier than the Leofoto it still weighs less than 2kg, so is very light for its size. I don’t use it as much as it either deserves or I should!
- Leofoto MP-284C Monopod – to keep things as light as possible, when I need to video myself taking photos I use the GoPro on this monopod with the Benro articulating base below. This set-up is so much quicker to set-up and carry than a second tripod (not to mention being lighter), which would just involve too much faffing around for me, but because of the excellent build quality is still quite sturdy. If I was buying again I’d probably get the Leofoto MP-285C instead just because it packs up a little smaller and the lowest height is lower to the ground, however the one I’ve got is taller.
- Benro VT2 Articulating Monopod Base – these go on the bottom of the monopod above to allow it to stand by itself with the GoPro on it so I can film myself taking photos. I originally used some cheap feet from Neewer and had the monopod fall over with the wind a few times, but (touch wood) I’ve found these feet from Benro to be rock solid and have not had any falls while using them. Most of the time while doing this I either don’t extend the monopod at all, or very little. DISCLAIMER: I don’t recommend this set-up as a stand-alone support as there is always a chance it could fall over – if you do so yourself it is at your own risk. Action cameras like the GoPro may be able to handle a bit of a tumble but many/most other cameras cannot…I repeat, use this sort of set-up at your own risk!
- Ulanzi Selfie Stick – a 47.64″ selfie stick that I use with the feet below, instead of the monopod when I want to travel light. The G100 can still go on this, however it isn’t as sturdy when extended as the monopod.
- NEEWER Mini Metal Tripod – I use these feet on the above selfie stick as a stand-alone support for the G100 or GoPro. I’ve found I needed to add loctitle and tighten the screw to make the feet stiffer so they can stay out while you carry it around. DISCLAIMER: I don’t recommend this set-up as a stand-alone support as there is always a chance it could fall over – if you do so yourself it is at your own risk. Action cameras like the GoPro may be able to handle a bit of a tumble but many/most other cameras cannot…I repeat, use this sort of set-up at your own risk!
Accessories
- SmallRig L Bracket – absolutely essential! With any tripod an l-bracket makes shooting in vertical orientation not only easier but also much more stable. With my current tripod head (see further down) an l-bracket is a necessity!
- Kase Wolverine Professional 77mm Magnetic Filter Kit – by far the favourite filters I have ever used! The set consists of CPL, ND8, ND64 and ND1000 (polariser, 3-stop, 6-stop and 10-stop) filters, as well as an adapter ring, lens cap and filter case. The filters are optically great, very light, and are so easy to change. With shooting video as well as taking photos it’s very important for to make things as quick and easy as possible, as well as keep things as light as I can, and the Kase filter set ticks all those boxes.
- Kase Wolverine Magnetic 67-77mm Step Up Filter Ring Adapter – to use the above filter kit on my 20-60mm and 50mm f1.8 lenses. The 77mm adapter is the same size for my 70-300mm. These adapters are very small and light.
- Kase Wolverine 77mm Magnetic Rubber Lens Hood – when using the same size filter adapter as your lens (such as with my 70-300mm) you can still use your standard lens hood with the filters. However when stepping up (such as on my 20-60mm) you can use this lens hood and adapter. NOTE that when using to step up you will need to use a normal threaded step up ring with the adapter included with the hood, not the magnetic step up adapters mentioned above.
- Panasonic Lumix DMW-BLK22 Battery – I always carry a spare battery for my S5 even though almost all the time one battery is enough to get me through a day of shooting.
- Lexar Professional 1667x 128GB UHS-II SD Card – I have used both Sandisk and Lexar cards and prefer the Lexar cards, particularly for video. While it’s not happened often, I’ve had two Sandisk SD and one Sandisk Micro SD cards have errors in the middle of recording video…something that has not happened with my Lexar cards.
- Lexar 1066x 128GB Micro SD Card – for use in my drone and GoPro, same reason as above.
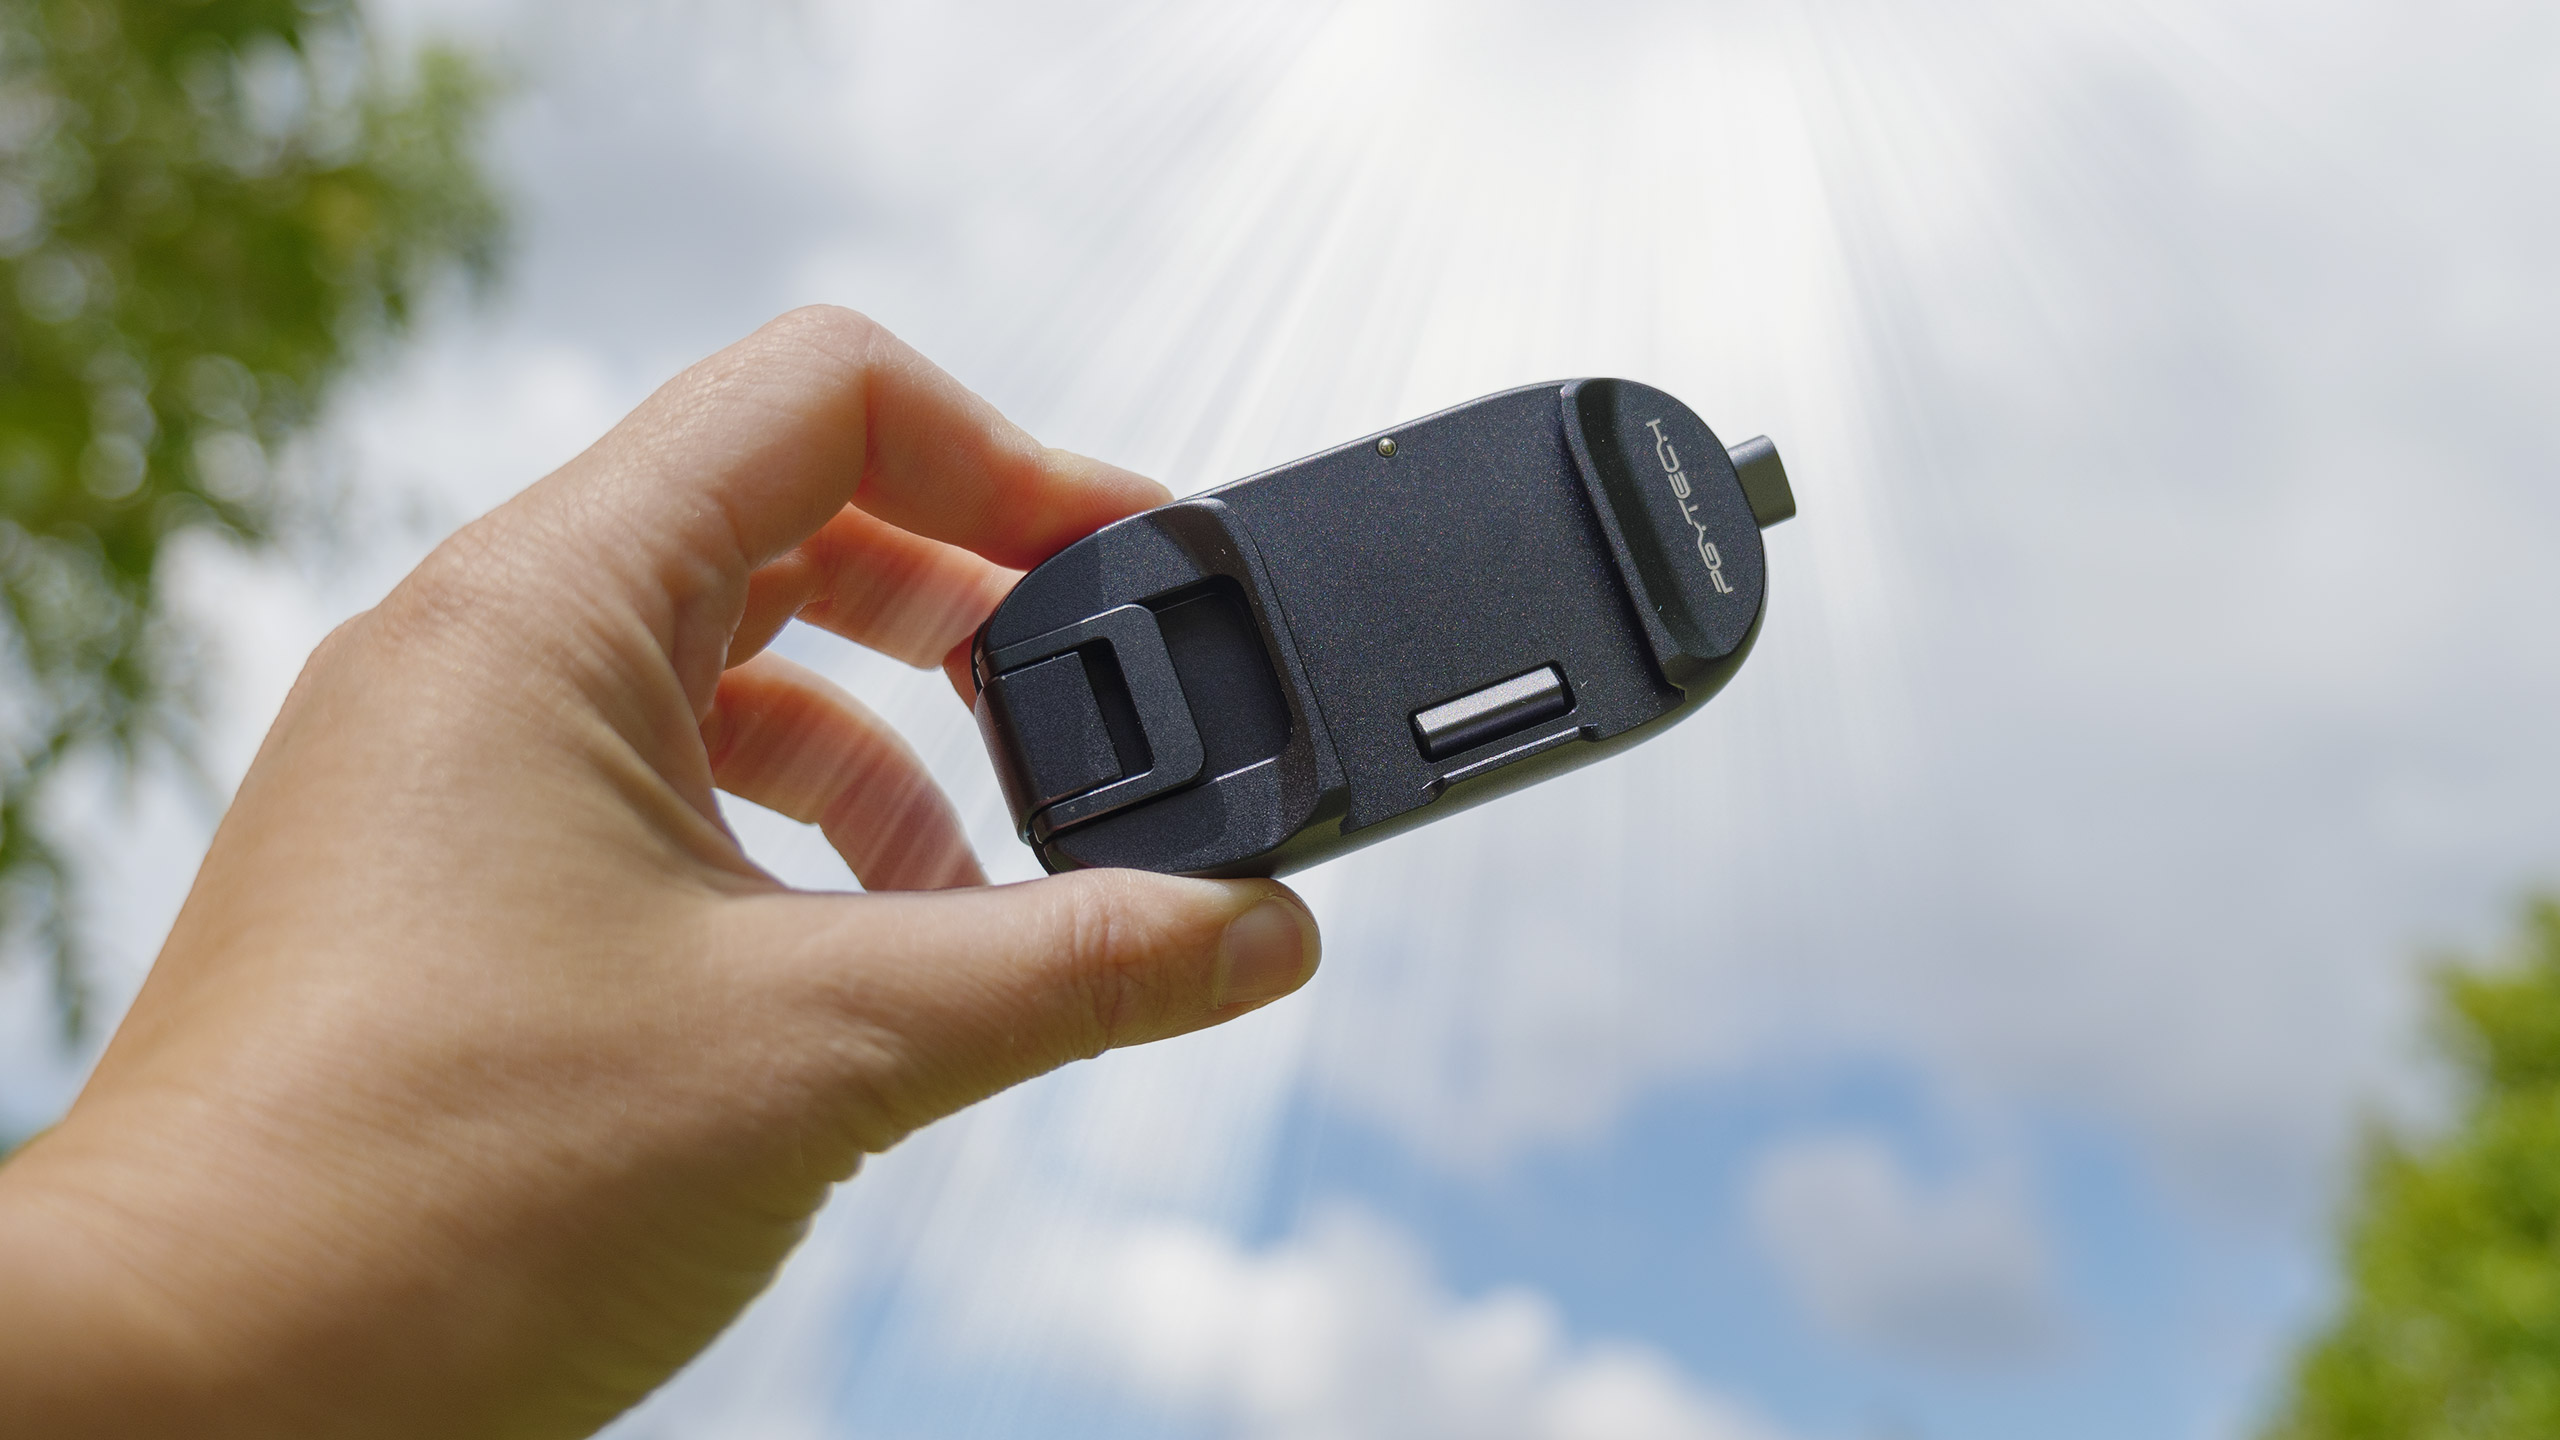
- PGYTECH Beetle Clip – a wonderfully well designed and made clip, which enables you to carry your camera on your backpack strap. I considered both the Peak Design Captur and Falcam F38 clips, and preffered the PGYTECH for its ease of use, versatility in strap thickness, and secureness of the clip. Can be used with the items below to be able to easily move all your gear around.
- PGYTECH Quick Release Clamp & Plate – I put the plates on my cameras and Zoom H1n, and use the clamps on all my camera supports, other than my tripod, to make attaching gear a breeze. Both the plates and the clamps are arca compatible, so anything with a plate can be used on my tripods too!
- PGYTECH Action Camera Plate – a plate compatible with the above Beetle Clips and Quick Release Clamps that has a GoPro attachment,so Action Cameras can be used in the system too. A 1/4″ adapter comes with this, so you could potentially use it with a camera like a Sony ZV-1, to enable you to attach the camera facing up against your body, instead of facing downwards.
- OP/TECH USA Utility Strap-Sling – unless I’m clambering up or down rocks I almost always carry my S5 on this strap so that it is easily accessible for both photos and video. The camera can slide on the strap for hand use while still attached, or I can quickly unclip it when I want to use it on a tripod. I bought additional clips for my backpacks so one side of the camera can be attached to the backpack to minimise how much is bounces around.
- Storm Jacket Camera Cover – a small and simple cover I can put over my camera and lens when it’s very wet. I’ve had my camera out in the rain where it has gotten wet many times and never had an issue, however when the rain is particularly heavy I use this cover to give it some protection. I find this cover easier to use than the larger, more elaborate covers, however if you have a camera you’re concerned about getting wet at all then I’d recommend one of the bigger covers.
- Sandisk 1TB Portable SSD – to back up my photos and videos when I go away on short trips.
- Belkin BoostCharge 3-Port Powerbank 10,000 mAh – extra power to recharge any of my batteries on-the-go.
Bags
- F-Stop Kashmir UL Backpack – a great backpack that can be customised to your liking with different sized ICUs (Internal Camera Units). For a camera bag this is fairly light, and it carries really well so the gear feels lighter than in many other camera backpacks I’ve used. There is space for a water bladder and room for various non-photography items, like a first aid kit, lunch and rain jacket. It doesn’t come with a rain jacket for itself, however the one which came with the Osprey Sirrus 24 backpack below fits it perfectly. You can get an F-Stop Rain Cover for this bag.
- F-Stop Medium Slope ICU – used in conjunction with the above backpack, this ICU is the right size for my gear when I take most of it, which I only do if I don’t have a long walk. I can fit my S5 + 20-60mm, 70-300mm and Mini 3 Pro + RC, as well as various accessories. When we go overseas I take this out and put it into a wheelie case to take on the plane with me and the backpack goes into my suitcase. When buying an F-Stop backpack, check whether an ICU is included or not.
- Osprey Sirrus 24 Backpack – a hiking backpack that I use when I’m trying to save on weight but still need to carry a tripod. It came with a rain cover, which handily also fits my F-Stop backpack.
- Osprey Daylite Plus Backpack – my lightest backpack that I use when I’m cutting down on weight and not carrying a tripod. Whilst technically you can attach a tripod to this backpack, it’s not comfortable to carry for long periods with a tripod attached.

Audio
- Hollyland Lark M1 – I great little set of wireless microphones. It comes with two transmitters (mics), a receiver, a charging case and wind muffs for both mics. It’s quite simple compared to the DJI and Rode mics (you can’t plug a lav mic into it, and you can’t record using just the transmitters themselves) however the sound quality is great and these things are smaller, lighter, and significantly cheaper.
- Zoom H1n – a stereo recorder that I use to record ambient sounds of the environment. I don’t always take this with me, but it’s very light, and excellent value for a good quality recorder.
- Rode NT-USB Mini – desktop mic that I use to record voice-overs for my videos. I have an untreated room (ie. no sound deadening) so I usually record with a blanket around myself and the mic, which seems to do the trick!
Post Production
- Adobe Creative Cloud – I edit all my images with Bridge and Camera Raw (very similar to Lightroom but without the annoying catalog faffing around), and Photoshop. My videos are made with Premiere Pro, with very occasional forays into Audition and After Effects. I use InDesign to create my calendars and books.
- BenQ SW272U 27″ 4K Photographer Monitor – I finally splashed out and bought myself this beautiful monitor. It covers 99% of the Adobe RGB colour space, includes hardware calibration, and helps enormously with colour accuracy. It is simply a delight to use!
- X-Rite i1Studio – I use this to colour calibrate my monitor. If you intend to print your photos you absolutely must calibrate, otherwise there’s very little chance the prints will turn out the way you want or expect. Their current model is the Calibrite ColorChecker Studio.
- Canon imagePROGRAF PRO-300 – an absolutely wonderful printer I use for creating prints up to A3+ (13×19″) in size. The prints out of this are magnificent, and with my calibrated monitor the colours come out spot-on, right out of the box.
- Ilford GALERIE Prestige Gold Fibre Gloss – I have tried a lot of different papers for printing and none have matched the Ilford Gold Fibre Gloss for its wonderful image reproduction! It’s not a true gloss but has more of a semi-gloss/lustre finish, with a slight texture which gives images a great feel. Colour reproduction is excellent, with excellent vibrancy and contrast.